In this post, we will have a look into a topic you'll sooner or later bump into when using Kubernetes to build your microservices in a real-world setting. Whenever you need to pass keys for APIs, such as with
Twitter apps or
Amazon S3 access, or you need to provide credentials for databases, you will want to do this in a secure and safe way. This is a general access control and authorization pattern, not specific to Kubernetes but important to understand as you start working with any new technology.
The basics
A simple way to pass secret data to a pod is to use environment variables. This is conceptually better than baking them into a Docker image, which is a big anti-pattern. Don't even think about doing this, really
bad things can happen, such as your cluster getting kidnapped by a botnet. While you could use environment variables in Kubernetes pod specs, this is not much better than doing so directly in the Dockerfile. Conceptually, the pod spec is seen as part of the app blueprint as well, in the same way the Dockerfile is.
What we want is (1) to separate the secrets from the app blueprint, and (2) to pass the secrets securely into the containers.
Luckily, there is a native solution for this:
Kubernetes Secrets. These Secrets are first-class citizens in the Kubernetes ecosystem. They effectively are directories and files that you can mount into your containers (well, actually into a pod). Kubernetes does not support passing secrets as environment variables (see also
ISSUE-4710), among other reasons due to security considerations.
There are some small gotchas with using Secrets, more information on which can be found in the
docs:
- the key must be DNS subdomain as per RFC 1035 with a max length of 253 characters
- you need to base64-encode the value yourself
- a secret's value is limited to 1MB in size
But enough talk, let's see Secrets in action.
In action
Suppose you want to share the value some-base64-encoded-payload under the key my-super-secret-key as a Kubernetes Secret for a pod. This means first you'd base64-encode it like so:
$ echo -n some-base64-encoded-payload | base64
c29tZS1iYXNlNjQtZW5jb2RlZC1wYXlsb2Fk
Note the -n parameter with echo; this is necessary to suppress the trailing newline character. If you don't do this, your value is not correctly encoded.
Then, you can use it in a YAML doc, like this:
$ cat example-secret.yaml
apiVersion: v1
kind: Secret
metadata:
name: mysecret
type: Opaque
data:
my-super-secret-key: c29tZS1iYXNlNjQtZW5jb2RlZC1wYXlsb2Fk
Now it's time to let Kubernetes know about it:
$ kubectl create -f example-secret.yaml
secrets/mysecret
Let's check it:
$ kubectl get secrets
NAME TYPE DATA
mysecret Opaque 1
So we're ready now to use it in a pod like so:
$ cat example-secret-pod.yaml
apiVersion: v1
kind: Pod
metadata:
labels:
name: secretstest
name: secretstest
spec:
volumes:
- name: "secretstest"
secret:
secretName: mysecret
containers:
- image: nginx:1.9.6
name: awebserver
volumeMounts:
- mountPath: "/tmp/mysec"
name: "secretstest"
And submit it:
$ kubectl create -f example-secret-pod.yaml
pods/secretstest
Now, to check if it worked, do the following:
$ kubectl describe pods secretstest
Name: secretstest
Namespace: default
Image(s): nginx:1.9.6
Node: 10.0.1.193/10.0.1.193
Labels: name=secretstest
Status: Running.
..
From this above command you can learn where Kubernetes decided to launch the pod secretstest, in our case on a node with the IP 10.0.1.193. So, we ssh into this node and go like:
core@ip-10-0-1-193 ~ $ docker ps
CONTAINER ID IMAGE COMMAND CREATED STATUS PORTS NAMES
fe02326de9e7 nginx:1.9.6 "nginx -g" 48 seconds ago Up 47 seconds k8s_awebserver.7c974a55_secretstest_default_87f0cb42-8861-11e5-8ebb-0a9e3fc51b85_3cb2020e
dbbf535a482b gcr.io/google_containers/pause:0.8.0 "/pause" 58 seconds ago Up 57 seconds k8s_POD.e4cc795_secretstest_default_87f0cb42-8861-11e5-8ebb-0a9e3fc51b85_fcadcb9a
core@ip-10-0-1-193 ~ $ docker exec -it fe02326de9e7 /bin/sh
# cat /tmp/mysec/my-super-secret-key
some-base64-encoded-payload#
And there we have it: Kubernetes has mounted the Secret on the pod and made it available under /tmp/mysec/my-super-secret-key, which unsurprisingly contains the value some-base64-encoded-payload as we would have expected and indeed hoped for.
Note that rather than doing kubectl describe pods secretstest, then sshing into the node and using docker exec, we could have used kubectl exec -i --tty secretstest /bin/sh mount directly. But I thought showing the more traditional, portable way in the first place made more sense.
One word of warning here, in case it's not obvious: example-secret.yaml should never ever be committed to a source control system such as Git. If you do that, you're exposing the secret and the whole exercise would have been for nothing.
For a complete, real-world example see also our
time series DCOS demo. In this demo we use Kubernetes for the so called offline part, a aggregated view of crimes in a certain region, visualized using a overlay heatmap. There, a helper process (one container) fetches JSON data from a pre-defined S3 bucket and makes it available to another process (a second container in the same pod) that has a simple Webserver serving the map.
I'd like to thank my colleague Stefan Schimanski from the Mesosphere Kubernetes team for reviewing this post and providing very valid feedback. If you want to try out the steps above, I suggest you ramp up a
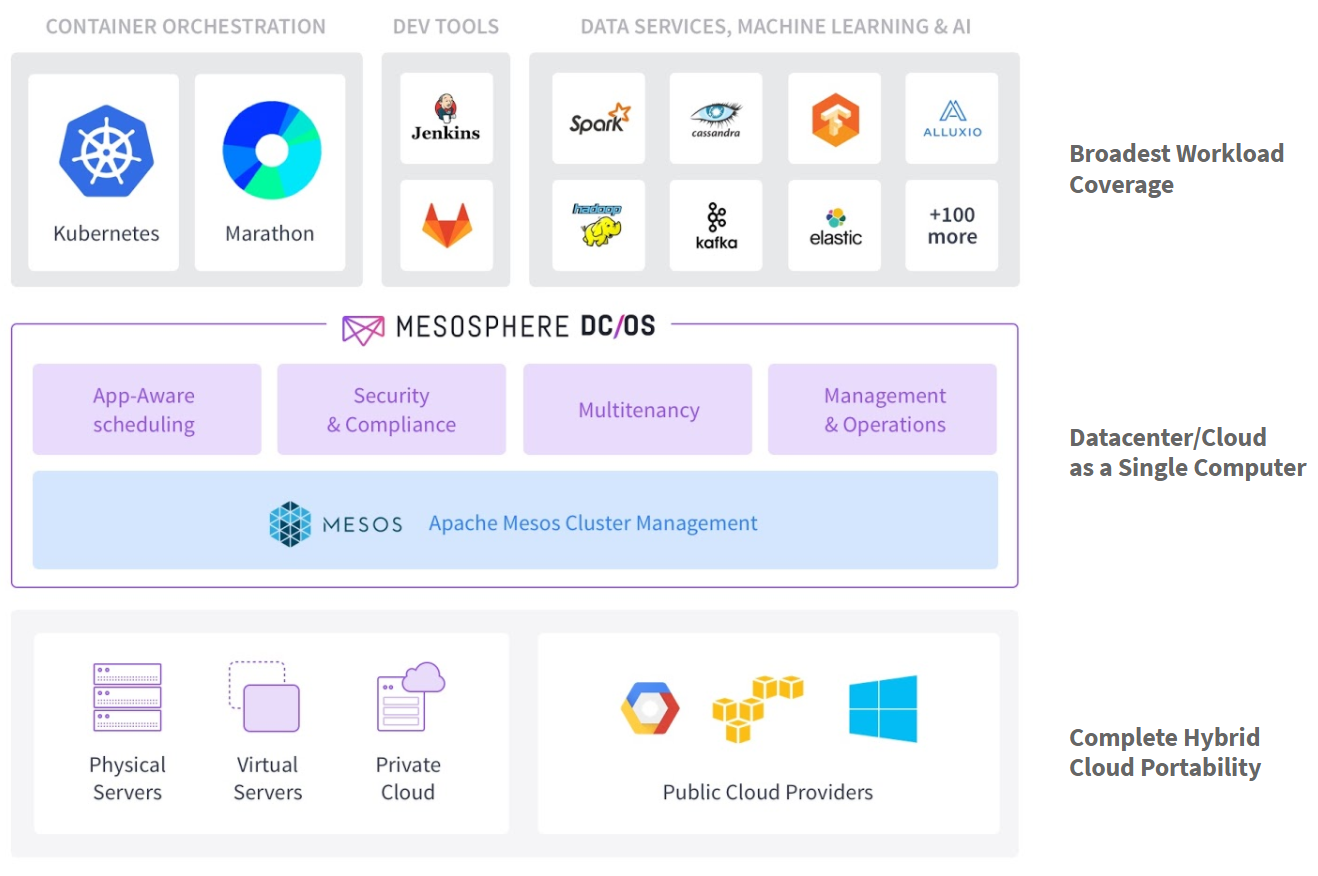
Mesosphere DCOS CE cluster and you'll be done in less than 20 minutes end-to-end.

